Friday 3 November 2017

Fun Christmas


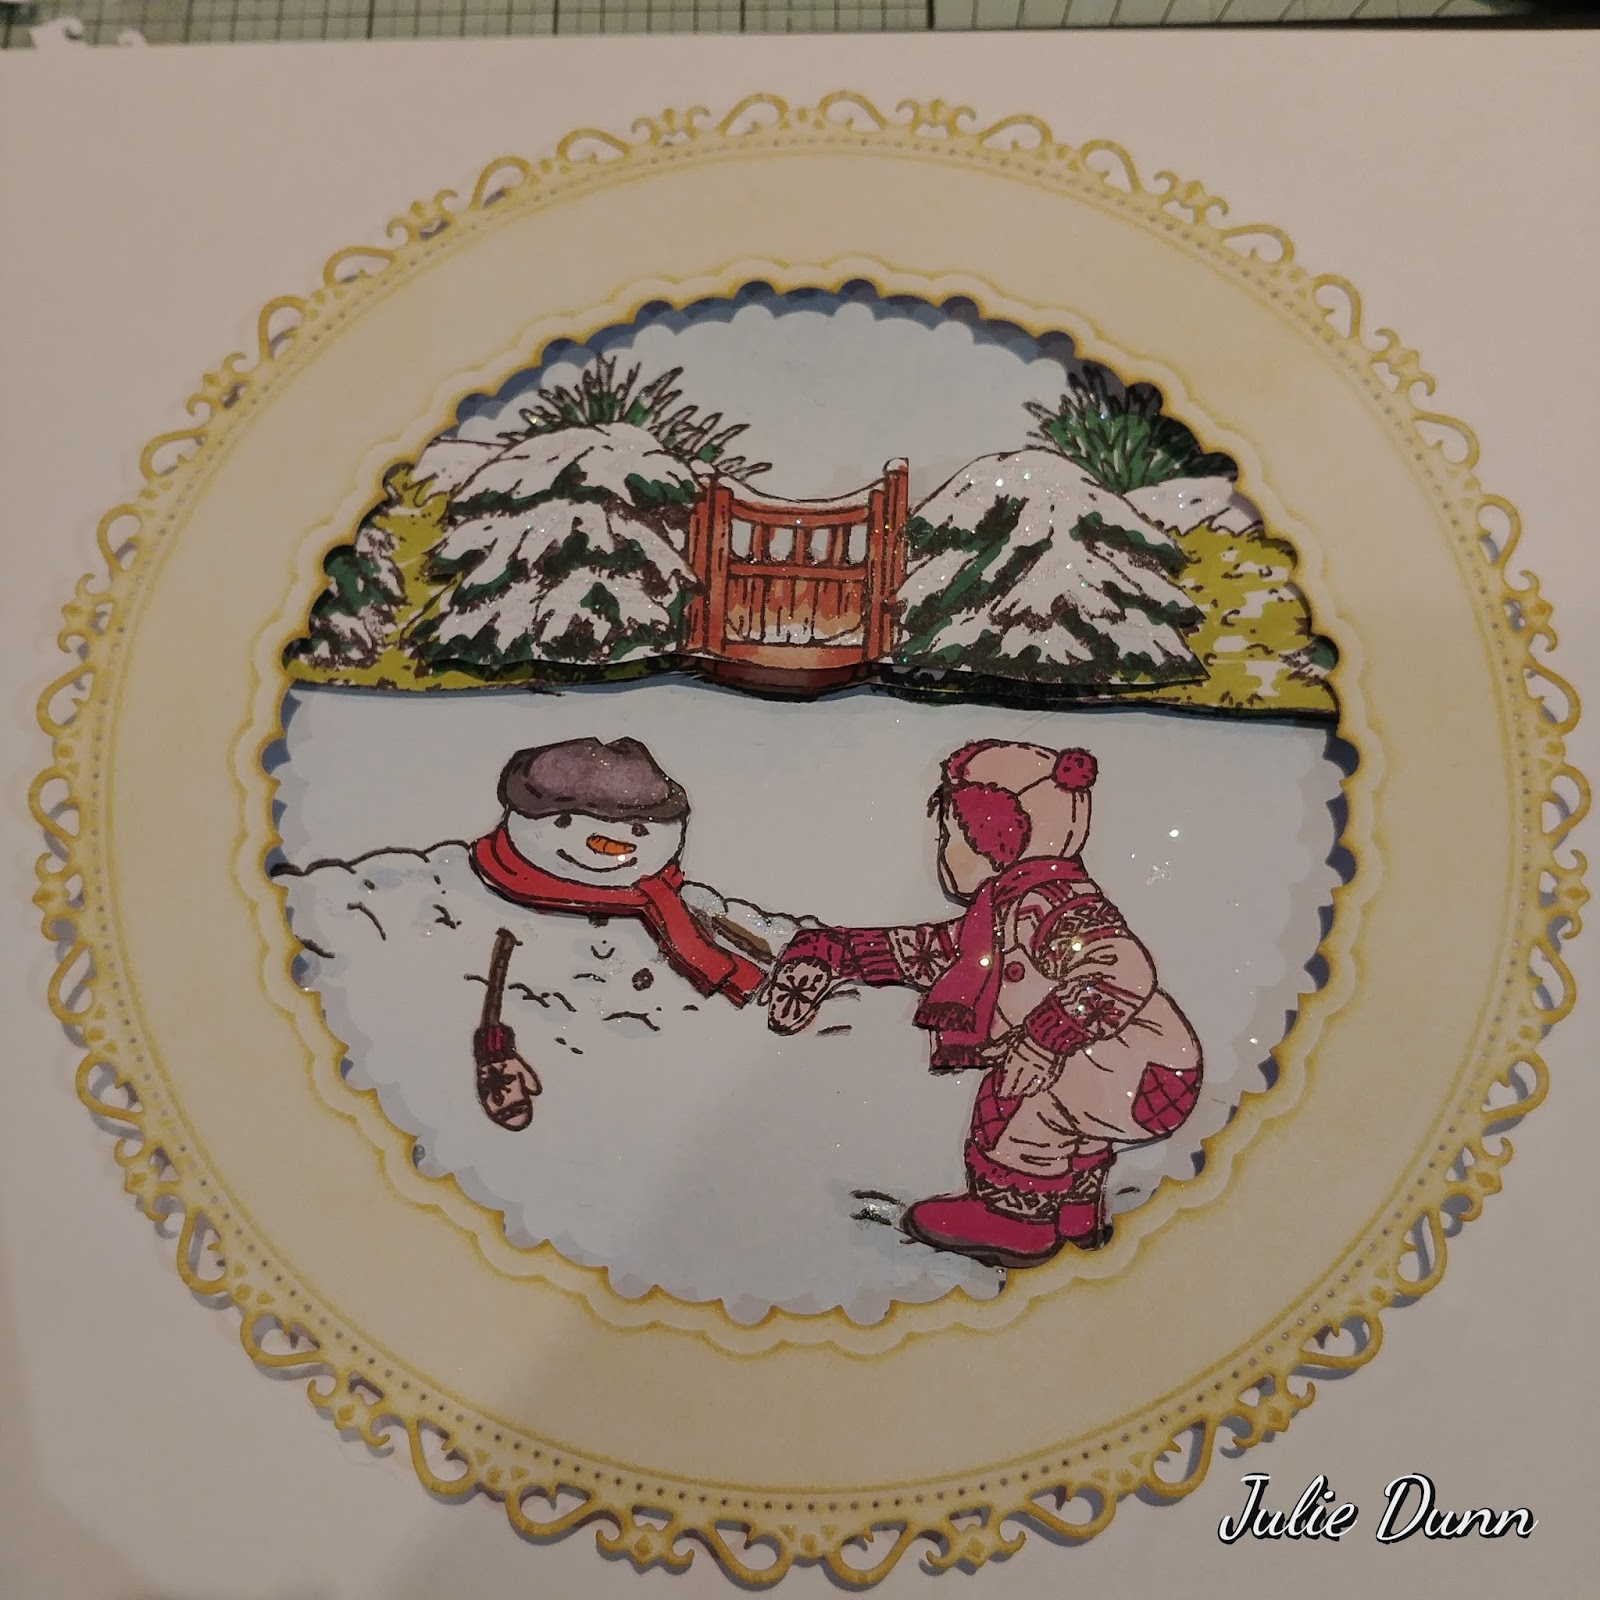
Hello everyone this months Clarity stamp and stencil challenge is CHRISTMAS my thought to this was lets do something other than a card so I got my die machine out lets make a wall plaque I will put list of stuff I used to make this
Grand calibre die cutting machine
Spell binders largest circle dies
Ribbon /distress ink pads antique linen
Adirondack ink pads Pitch black / Denim blue
Clarity stencil brushes /Clarity hill masks
Clarity Jaynes Christmas stamps
Glue pen / Glamour dust /promarkers
Clarity A4 theother card
Dish to draw around
Pinflair glue gel/ poky tool

Lets get started


I used the two largets circle dies one in side the other put the other card through the machine


Now with stencil brush and antique ink brushed over to give a vintage look
With a bowl I drew around on another piece of A5 the other card as did not have a die that was big enough to fit between
I did my first stamp using the black ink Added the child and masked her


Put my snow man in so looked behind child

Stamped two of the back ground on scrap the other card and the child and snowman I put this a side

with blue ink and stencil brush  I added the sky brushed over parts where felt needed highlights then with hill mask put it in areas around snow man and child just to give very faint mounds of snow more blue towards the bottom even as I'm putting the ring around parts
With promarkers colour your stamped areas and the pieces you put to the side

I cut out different sections of the  extra stamped pieces so the top one would have les to it than the one below snow man I did the hat scarf face snow man put all theses together with pinflair glue gel leaving to dry once dry I added glue pen to the areas I wanted the dust give good shake after. with a pokey tool I put a whole in the top of this but making sure would not be shown once put ring on


To add ring I used big blobs of Pinflair glue gel but if you have foam tape will work mounted this put a side to dry when I was happy completely dry add your ribbon well I hope you enjoyed this Thank you for visiting my blog


We Three Kings


Hello everyone this months Clarity groovi  challenge is CHRISTMAS my idea was  these stamps I bought to make cards for a friend so thought would stamp them on to the Indian summer, but I do have to confess that I stamped this with permanent ink, left all day; thought lets get going - got quite a bit of the work done but, whats all this black - it had smudged and completely ruined  it all. So I started again; we are only human, mistakes do happen, I say. Hopefully we learn by them so wanted to do exactly the same but messed up so instead of starting g again I did it different, You will notice the corners are different but with the stamping I used embossing powders instead; I was so cross with myself that forgot to take another lot of photos  so I will put a list of what I used below
Clarity starter groovi kit
Groovi A5 circles
Landscape plate
Nested scallop circle plate
Tina Henna corners 2 plate
A4 Nested circles frilly frame plate
Indian summer parchment
Clarity stamps we three kings and verse
Northern lights papers
Tolls perforating / ball tools / snips
Clear embossing powder /heat gun
Versafine onyx black ink pad /talcum powder
Tumble dryer sheet
Clarity light box
Soft mat or pergamano purple mat


Lets get started


With the brightest shiniest side of your parchment rub your tumble dryer sheet and the filly circle plate put your ring in place


Now with your parchment on the front sprinkle bit of talc and with clean brush take the talc off. with Versamark ink pad stamp your images heat emboss but do be careful not to hold the gun to close


Now back to the reverse side of parchment  and the nested scalloped circles add your 4 circles
Add another lot of circles inside the other add scallops to the inside of them then two opposite corners add the scallops edge the other two I took the design off the Henna plate do the edging around the other two circles  with the big circle floral on henna plate add part of it between your circles Now with starter kit and landscape add your sand dunes

 
on the reverse of parchment and your soft side of mat do your white work but be very patient it will become white do some let it rest come back just keep resting between whitening it be worth it in the end

With perforating tools and mat perforate your holes all around the outside of image then inside your circles With my snips I did my picot edge around the out side first then I did the inner circles now I mounted it onto northern lights paper  hope you enjoyed this thank you for visiting my blog